Buffering configuration
Goal
This tutorial explains how to solve troubleshooting latency issues with input source with UDP or RSTP protocols. This time, you will learn to:
Manage the buffering configuration
Some extra code, such as error handling or stopping the playback when the video finishes, has been omitted on purpose to keep this tutorial as short and straightforward as possible.
Prerequisites
Knowledge of the What is Latency and Why Does it Matter?.
Walkthrough
The main difference between this tutorial and the hello world tutorial lies in
adding the reception buffer size control through
flu_player_buffering_policy_set
function.
        time = (gint64)(atof(argv[2]) * TIME_SECOND);
        g_print("Setting buffering policy: %.2f seconds\n", atof(argv[2]));
        flu_player_buffering_policy_set(player, FLU_BUFFERING_POLICY_NORMAL, -1, time);
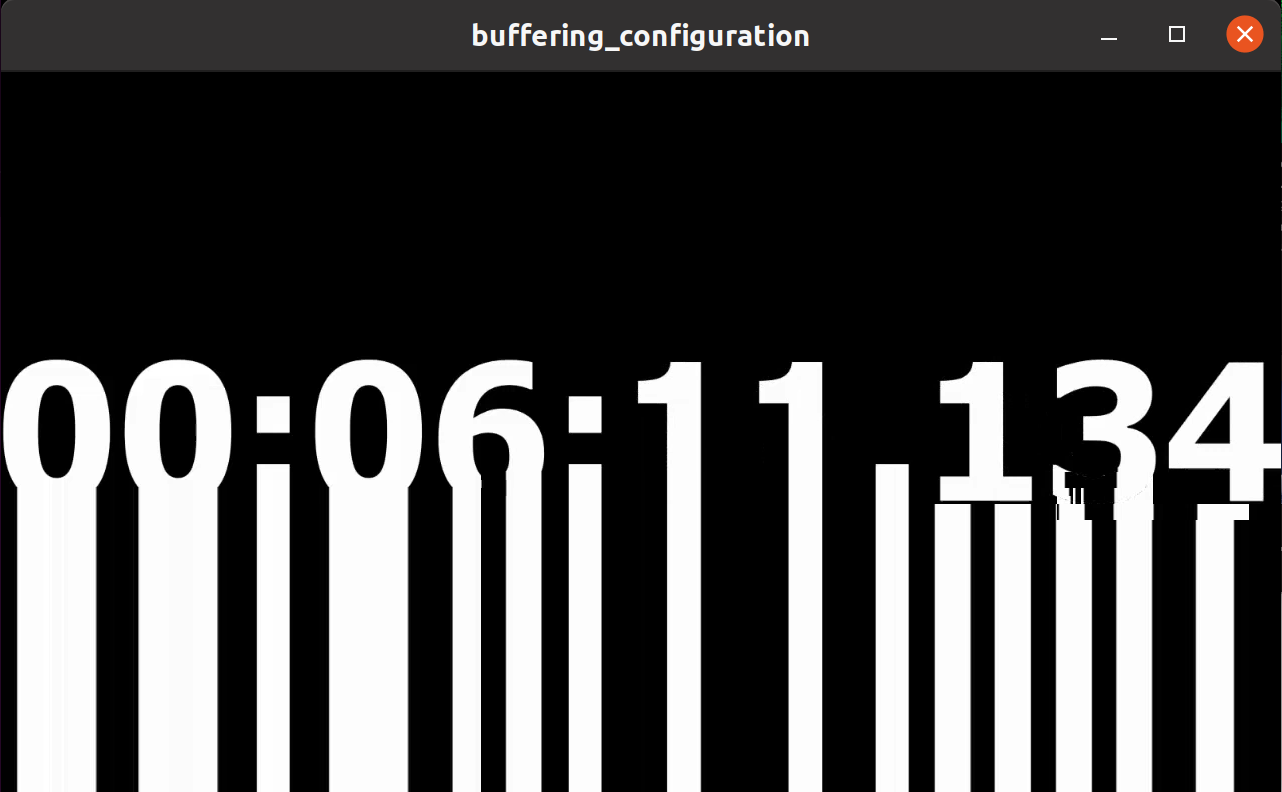
We can define the concept of latency as “the amount of time it takes for a single frame of video to transfer from the camera to the screen.”. In this case and for a practical example of this, we will not use a camera and a screen, but we will use a server program that reads a clock video to transform it into UDP packets, and we will have a client that receives it and paints the packets into a window.
In this example, we have started a UDP server on port 4951, and after we start the client program with the command:
buffering_configuration udp://localhost:4951
In this case, we can see how the client cannot paint the data packets at the same speed as it receives them, causing loss of information.

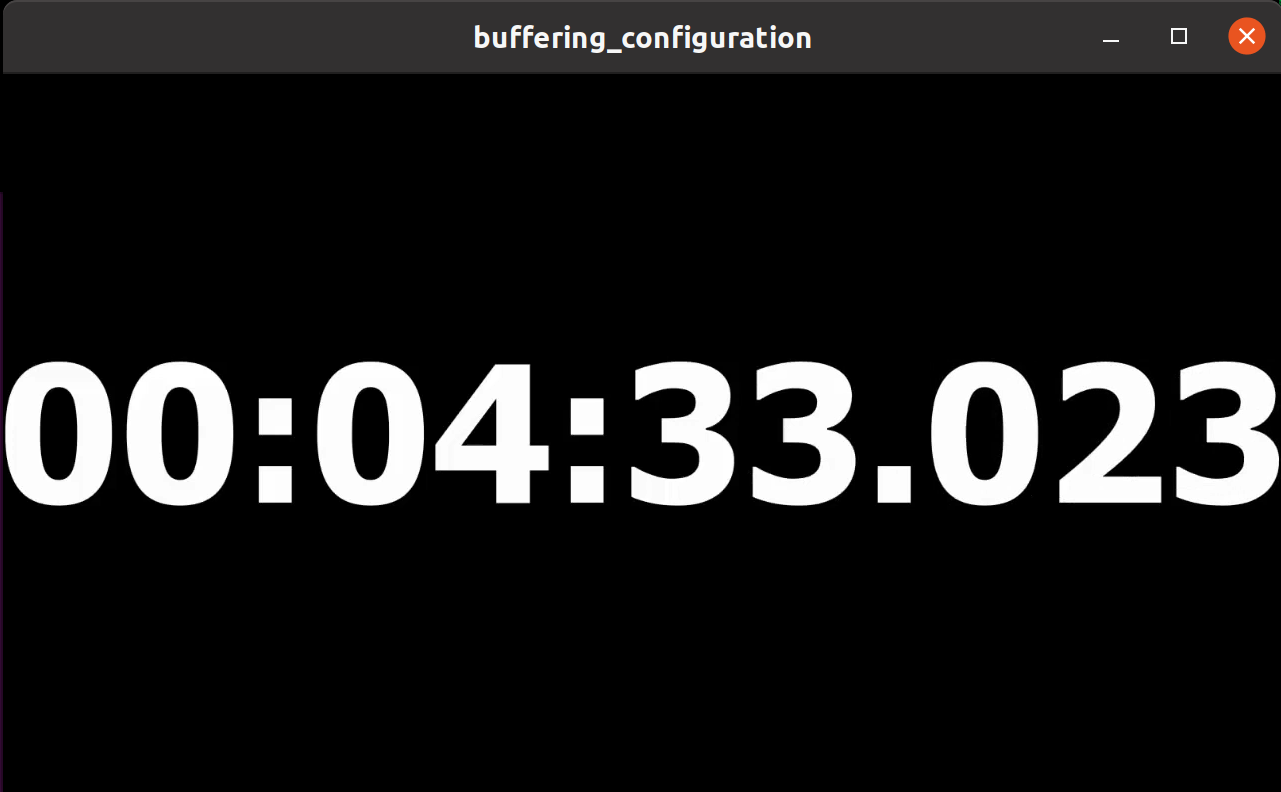
We can eliminate these latency problems by adding a second parameter with the seconds that we need to adjust:
buffering_configuration udp://localhost:4951 1
Now we cannot see any loss of information and the video always shows well.

We can also repeat the test using any other type of network input source, such as one of rtsp type, using the command line:
buffering_configuration rtsp://wowzaec2demo.streamlock.net/vod/mp4:BigBuckBunny_115k.mov 1
Full source code
1 2 3 4 5 6 7 8 9 10 11 12 13 14 15 16 17 18 19 20 21 22 23 24 25 26 27 28 29 30 31 32 33 34 35 36 37 38 39 40 41 42 43 44 45 | #include <fluendo-sdk.h>
#include <stdio.h>
#include <stdlib.h>
#define TIME_SECOND (G_USEC_PER_SEC * G_GINT64_CONSTANT(1000))
int main(int argc, const char **argv)
{
/* Initialize the Fluendo SDK and create the player */
flu_initialize();
FluPlayer *player = flu_player_new();
/* Set the URI to the first argument if given */
const char *uri = "http://ftp.halifax.rwth-aachen.de/blender/demo/movies/ToS/tears_of_steel_720p.mov";
if (argc > 1)
{
uri = argv[1];
g_print("Setting video stream URI: %s\n", uri);
}
/* Set the time to increasing buffering to the second argument if given */
gint64 time = 0;
if (argc > 2)
{
time = (gint64)(atof(argv[2]) * TIME_SECOND);
g_print("Setting buffering policy: %.2f seconds\n", atof(argv[2]));
flu_player_buffering_policy_set(player, FLU_BUFFERING_POLICY_NORMAL, -1, time);
}
/* Ask the player to open the video and start playing it */
flu_player_uri_open(player, uri);
flu_player_play(player);
/* Wait for key strokes on a blocking loop until key `q` is pressed */
while (getchar() != 'q')
{
/* Empty loop, waiting for user input... */
}
/* Close the player, unref it and shutdown the Fluendo SDK */
flu_player_close(player);
flu_player_unref(player);
flu_shutdown();
return 0;
}
|
You can also download it here.
Building
This source code along with the rest of tutorials can be compiled using the following commands.
On Linux:
mkdir fluendo-sdk-tutorials && cd fluendo-sdk-tutorials
meson /opt/fluendo-sdk/share/doc/fluendo-sdk/tutorials/src
ninja
On Windows:
mkdir fluendo-sdk-tutorials
cd fluendo-sdk-tutorials
meson C:\fluendo-sdk\<version>\<x86/x86_64>\share\doc\fluendo-sdk\tutorials\src
ninja
To generate a Visual Studio project, you can pass the --backend=vs option
to meson.
Conclusion
Let’s recap all that this tutorial covered:
How to set the buffer policy using flu_player_buffering_policy_set